Installing custom maps
In order to get custom maps in map select, you must install maps inside your <MWR directory>/usermaps/. Inside usermaps, each map folder should lay there.
Call of Duty: Modern Warfare Remastered\
| - usermaps\

usermaps\
| - mp_favela\
| - mp_streamline\
| - mp_terminal\
Usermap folder structure
The structure of a usermap folder should had a map fastfile, a map load fastfile, and a arena file. Some maps might also have a .pak file, which is used for extra assets that are big.
mp_favela\
| - mp_favela.ff
| - mp_favela_load.ff
| - mp_favela.pak
| - mp_favela.arena
Loadscreen
A loadscreen fastfile is a <map>_load.ff that is included in the specific usermap's folder. To build a load fastfile, you simply need the following in your map load's CSV:
techset,,2d
material,,$victorybackdrop
material,,$defeatbackdrop
image,loadscreen_mp_streamline
material,$levelbriefing
material,$levelbriefingcrossfade
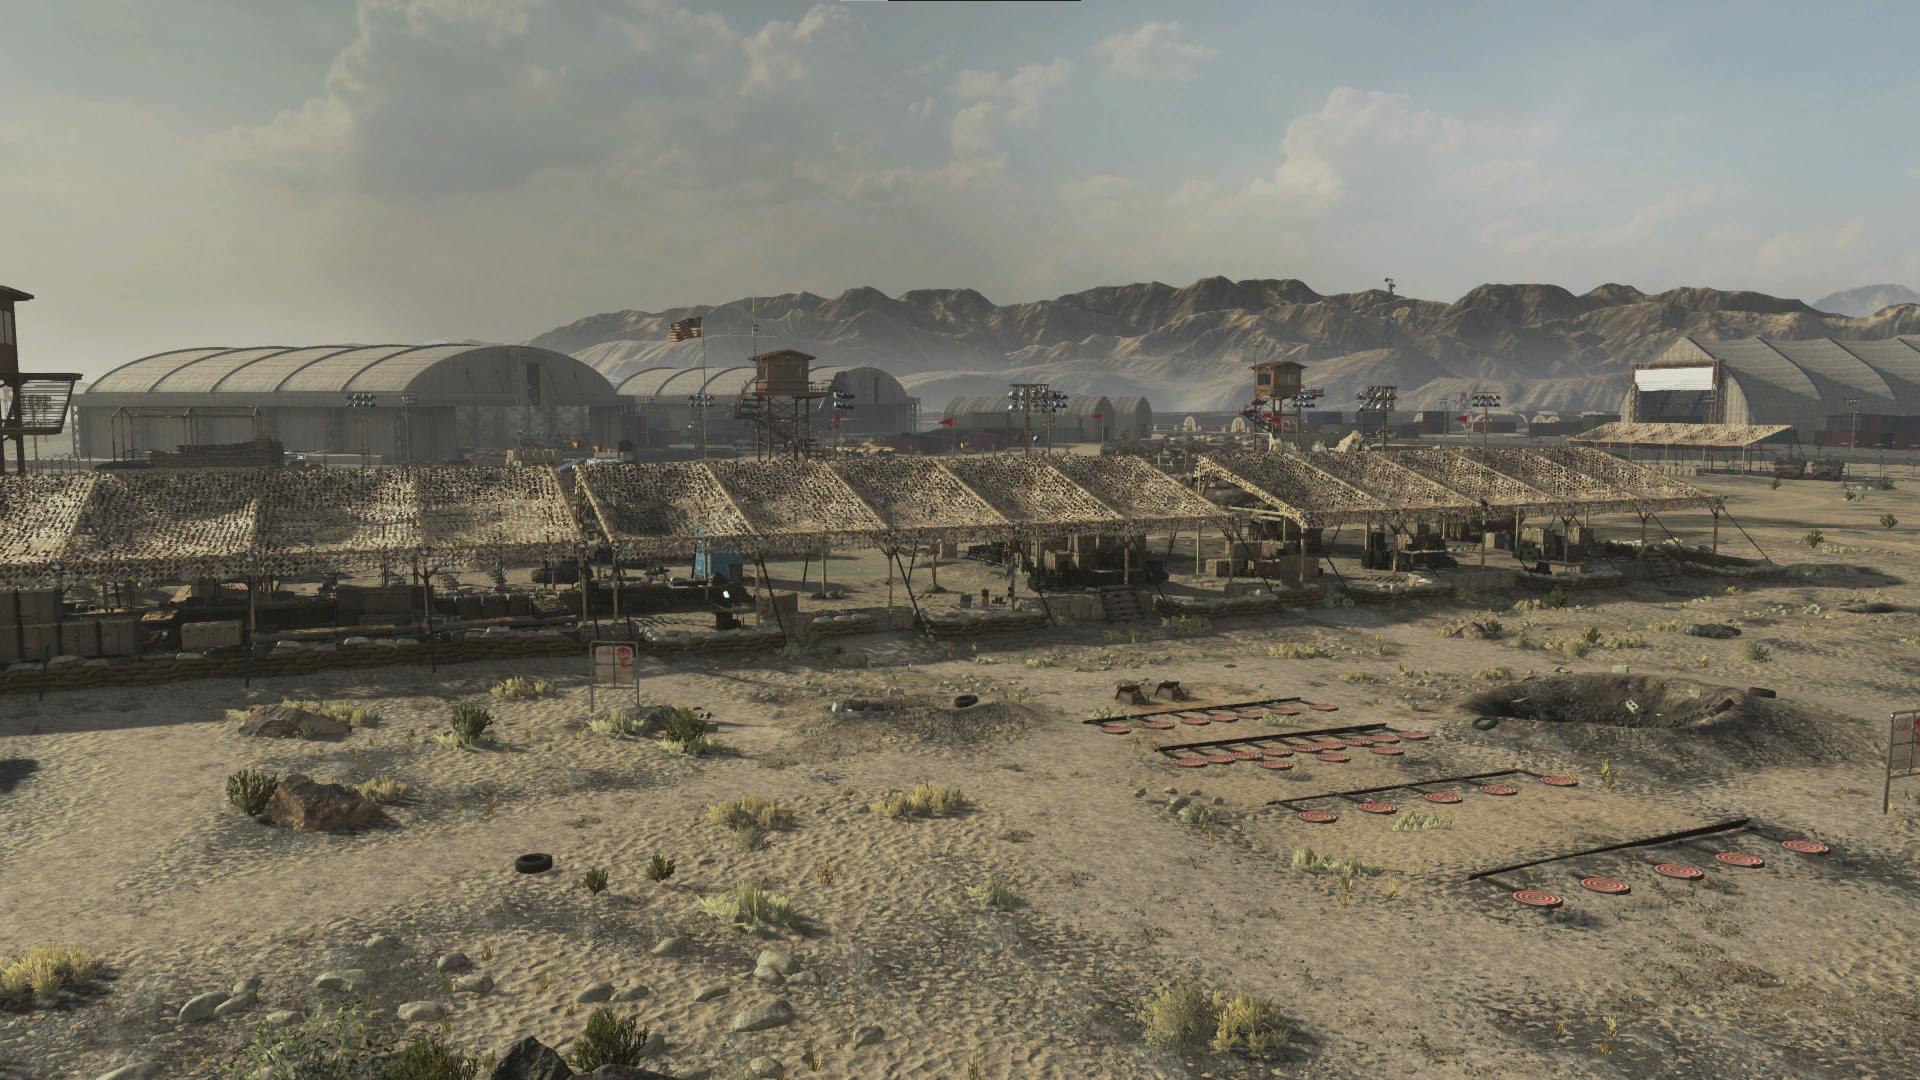
The loadscreen image can be whatever you want, but should be the size of this image below:

If your image is a PNG and the same resolution, you can use iwi-converter, which is a simple .exe to drag and drop .IWI (Call of Duty image file) or .png to turn it into its counter opposite. ZoneTool supports building .png files, but it's highly recommended you convert any important textures that aren't 2D to .IWI.
For the loadscren materials $levelbriefing and $levelbriefingcrossfade, you just simply need to build these in and change the image in the textureTable. These materials are created as json files, and go in <MWR>/zonetool/<map>_load/materials/. Your image can go in here, or it can go in <MWR>/zonetool/images/.
{
    "name": "$levelbriefing",
    "techniqueSet->name": "2d",
    "gameFlags": 0,
    "sortKey": 60,
    "renderFlags": 0,
    "textureAtlasRowCount": 1,
    "textureAtlasColumnCount": 1,
    "textureAtlasFrameBlend": 0,
    "textureAtlasAsArray": 0,
    "surfaceTypeBits": 0,
    "cameraRegion": 12,
    "materialType": 0,
    "assetFlags": 0,
    "constantTable": null,
    "textureTable": [
        {
            "image": "loadscreen_trainer",
            "semantic": 0,
            "samplerState": 226,
            "lastCharacter": 112,
            "firstCharacter": 99,
            "typeHash": 2695565377
        }
    ]
}
{
    "name": "$levelbriefingcrossfade",
    "techniqueSet->name": "2d",
    "gameFlags": 0,
    "sortKey": 60,
    "renderFlags": 0,
    "textureAtlasRowCount": 1,
    "textureAtlasColumnCount": 1,
    "textureAtlasFrameBlend": 0,
    "textureAtlasAsArray": 0,
    "surfaceTypeBits": 0,
    "cameraRegion": 12,
    "materialType": 0,
    "assetFlags": 0,
    "constantTable": null,
    "textureTable": [
        {
            "image": "loadscreen_trainer",
            "semantic": 0,
            "samplerState": 226,
            "lastCharacter": 112,
            "firstCharacter": 99,
            "typeHash": 2695565377
        }
    ]
}
Arena files & Map Select
To write arena files, it must be written in this format below. Make sure not to forget any quotes or any characters. Only text should be changed, and you don't have to have localized strings since it's not gonna hurt anything in the long run.
Arena file example here:
{
    map         "mp_streamline"
    longname    "MPUI_STREAMLINE"
    gametype    "dm war dom conf sd hp sr twar infect ball"
    description "MPUI_DESC_MAP_STREAMLINE"
    mapimage    "loadscreen_mp_streamline"
    mapoverlay  "compass_overlay_map_blank"
    allieschar  "marines"
    axischar    "opfor"
    environment "urban"
    mappack     "0"
}